Showing posts with label Model. Show all posts

Friday, May 18, 2012

"Taste creation" Reproduction

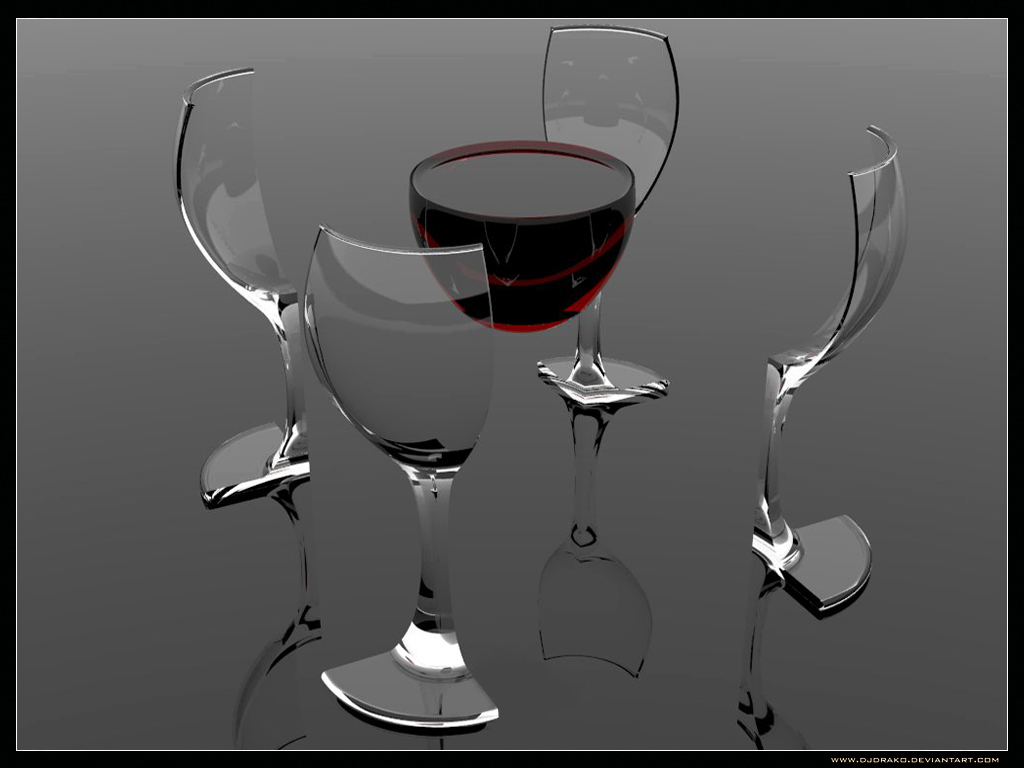
Here's my own reproduction of "Taste creation" by *DjDrako on deviantART
And here's the original: 
I decided that this would be a simple reproduction that would test my CGI skills. I let this image render in Cycles for quite awhile. I think that it reached around 7000 Samples. Which one do you prefer? Feel free to discus in the comments.

Monday, February 06, 2012

Metal Man's Boss Room in 3D

Once again, I have reproduced a scene in Mega Man 2. This time, I have rendered Metal Man's boss room. Metal Man is renowned for his metal blade power. When used by Mega Man, the power-up was able to defeat Metal Man himself with only two blades. It was one of the few abilities worth using in the classic Mega Man series. Click on any image to see it at full-size.
Here is his boss room as rendered by an orthographic camera:
Here is another render using a perspective camera: 
Finally, here is a reference image for comparison:

Thursday, January 12, 2012

Mega Man 2 Title Screen in 3D

Here's a project I've been working on for awhile. Although its not perfectly to scale, the scene does a pretty good job at staying true to the original. As per usual, click on either image to view at full size. 
The scene above may look like the a picture from the original game. However, the scene can actually be viewed at any angle, such as the one below.
The sprites were obtained from The Spriters Resource. The logo actually has the right color changes at the appropriate stops.
If you want to play an actual game like this, look forward to the release of Mega Man 2.5D by Peter Sjöstrand. He's aiming for a launch sometime this year.

Sunday, January 08, 2012

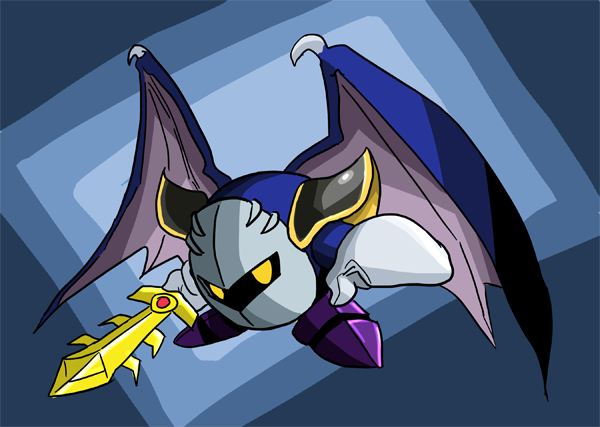
Meta Knight in HD

I found a fun pose for the model as a reference image:
Meta Knight by ~Brinstar on deviantART
Then I posed my Meta Knight model, which I found using this tutorial. Using Blender's new render engine, Cycles, I enhanced some of the materials. For example, the sword is actually reflective now. I also used Subdivision Surface to smooth the rough edges on the model.
Here is my result in HD. Click to view at full size:

Monday, May 02, 2011

How to Export Super Smash Bros. Brawl Models (Now with Texturing Steps)

In this tutorial, I will teach you how to export models from the Wii game, Super Smash Bros. Brawl.

Note: This tutorial is designed for Windows PCs. Use of other operating systems will require alternate methods.

What is needed:
Once you have the following, you are ready to begin!
  1. Extract Wii Scrubber using IZArc
  2. Launch Wii Scrubber and use it to open the SSBB ISO
  3. Find the character you are looking for in the first partition (Tip: Playable characters are located in the "fighter" directory)
  4. Open the character directory and you will find more confusing files. The file you are looking for is "Fit(Character Name)00.pac."
  5. Right click on the file and extract it to an easy location, such as your desktop
  6. Extract the BRRES Viewer and launch it
  7. In the menu bar, click "File", then "Open Files..."
  8. Select the character file extracted earlier and open it
  9. You should find the model in the smaller box with the following filesystem: Fit(Character Name)00.pac/3DModels/Fit(Character Name)00
  10. In the menu bar, click "Model", "Export...", then "MD5" and choose a destination
  11. Open Blender 2.49b and make a "Text Editor" window in it
  12. open the MD5 Import Script in the Text Editor and, with your mouse cursor over the Text Editor, press Alt+P
  13. The window should change into an importer where you can import the file
  14. Select one object of the imported model with the right mouse button
  15. Create a new material and add that object's appropriate image texture using the textures panel. Unwrapping has already been done by the importer. You need only open the texture while in UV edit mode.
  16.  Select all objects with the same name, selecting the object from step 14 last. (Example: Mario has objects named FitMario_BodyA, FitMario_BodyA.001, FitMario_BodyA.002, etc. Select these.)
  17. Press Ctrl+L and choose "Materials"
  18. For each subsequent set of objects (such as FitMario_BodyB), go to the textures window and select each object's appropriate texture (generally, objects have the same name as their corresponding textures, follow by a ".nnn" (n=a number))
  19. If you want to use the model elsewhere, while in Blender, click file, then export and find the format you need
I hope that you have found this tutorial useful. I have searched a very long time to find a valid method that wasn't a WIP.